 TIPS
TIPS


Food suitable for the braising method
Braising is ideal for tough pieces of meat but is not confined to these. It can be used for:
• Tough and large pieces of meat (beef, pork, lamb, rabbit, etc.), preferably on the bone, such as shoulder and shank, which are rich in connecting tissue and have a relatively increased fat content (in relation to lean cuts, such as the fillet).
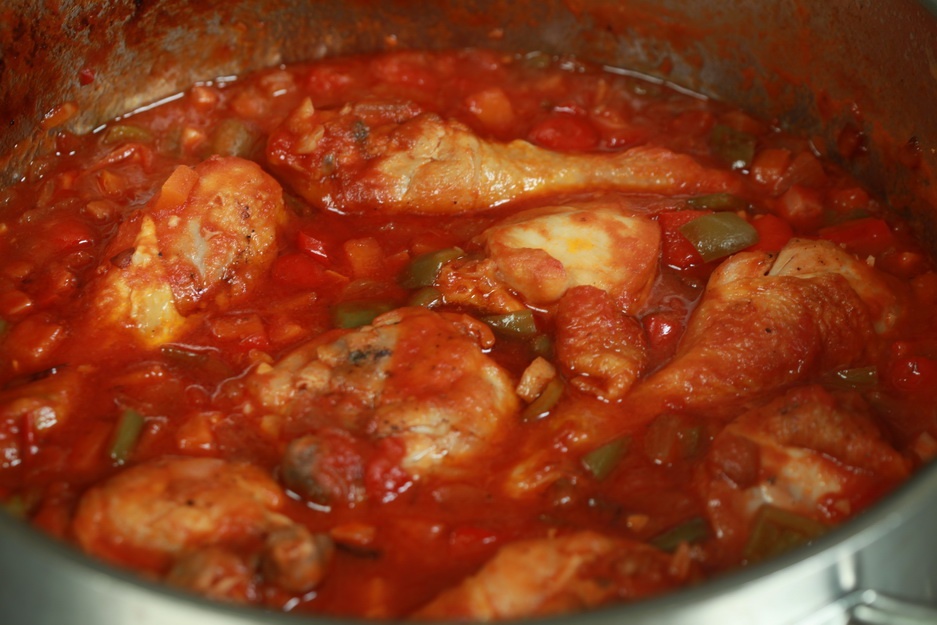
• Poultry, especially tougher parts, such as legs.
• Fish and seafood.
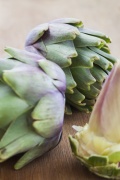
• Vegetables
Braised foods should offer:
• Strong flavors
• Soft texture; one must be able to cut through it with a fork rather than a knife but not falling apart.
• A tasty sauce from the cooking juices. Its consistency must be such so as to coat the food and enhance its flavor without being too heavy and tiring.
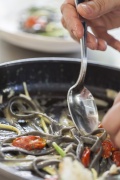
See step by step the braising technique , following the photos order.
-
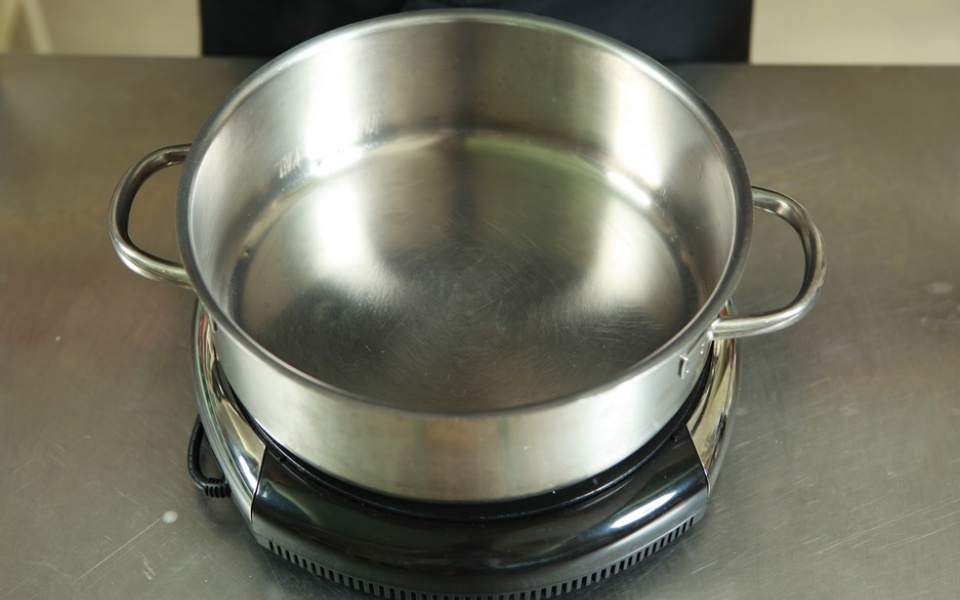
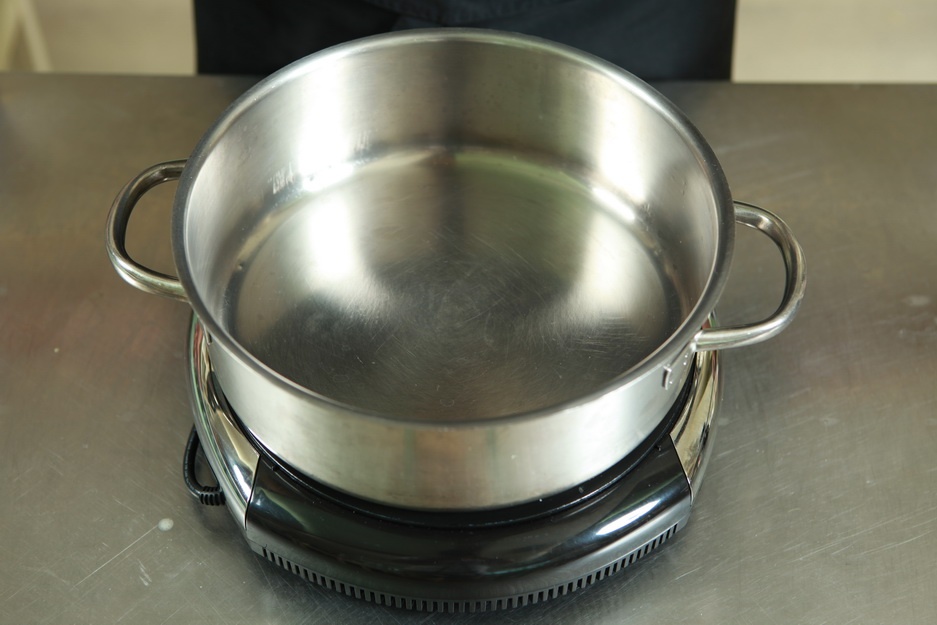
Select the right size pan.
The pan must be large enough for the food to fit comfortably and be about half-covered by the stock. A braising pan, which gave its name to this particular cooking technique, is ideal. As a general rule use pans larger in width than in height.
-
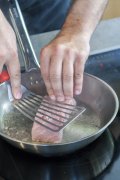
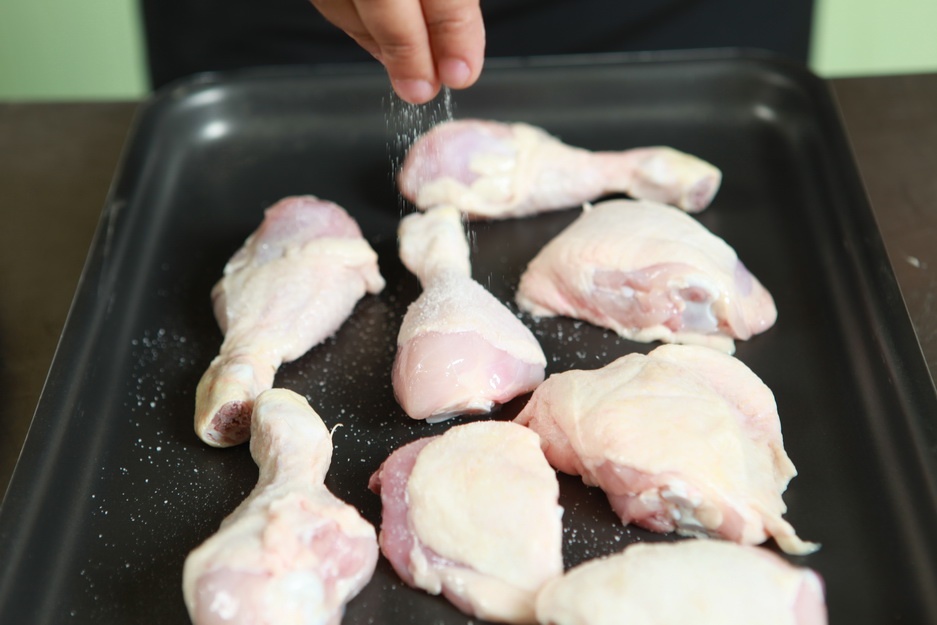
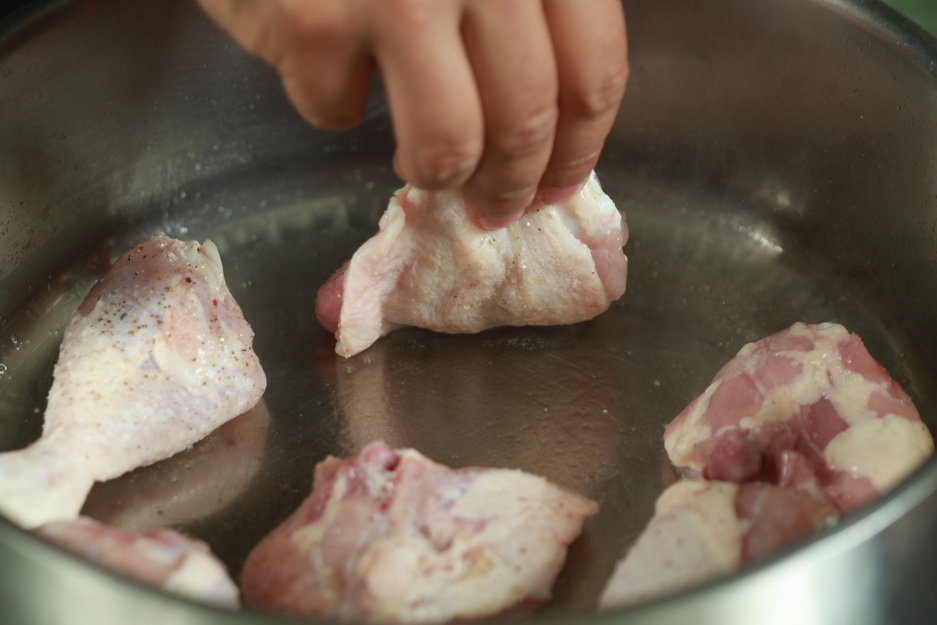
Season meat with salt and pepper.
-
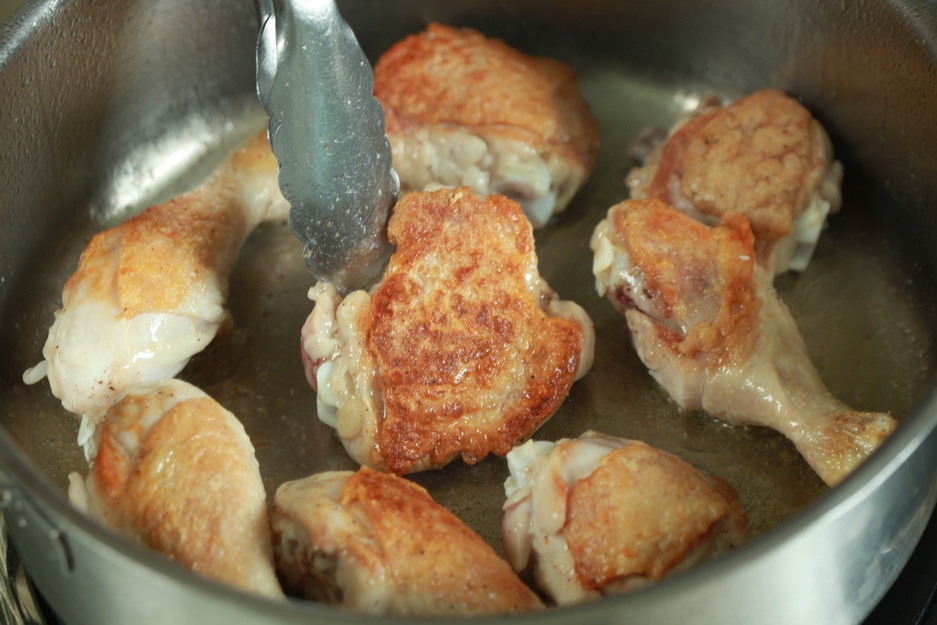
Place the meat in the pan and sauté on one side.
Braised foods are divided into dark and white.
In most cases they are dark so one sautés the meat in a preparatory step before braising. This results in a more intense flavor and darker color.
In white braises such qualities are not required so instead you can scald the meat by placing it in a pot of water which is brought to the boil for 1-2 minutes so as to remove the foam.
Although this process produces a tastier and cleaner result, it can be bypassed.
-
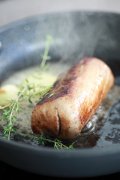
Turn the meat as soon as it gains a rich color and repeat the process on the other side.
-
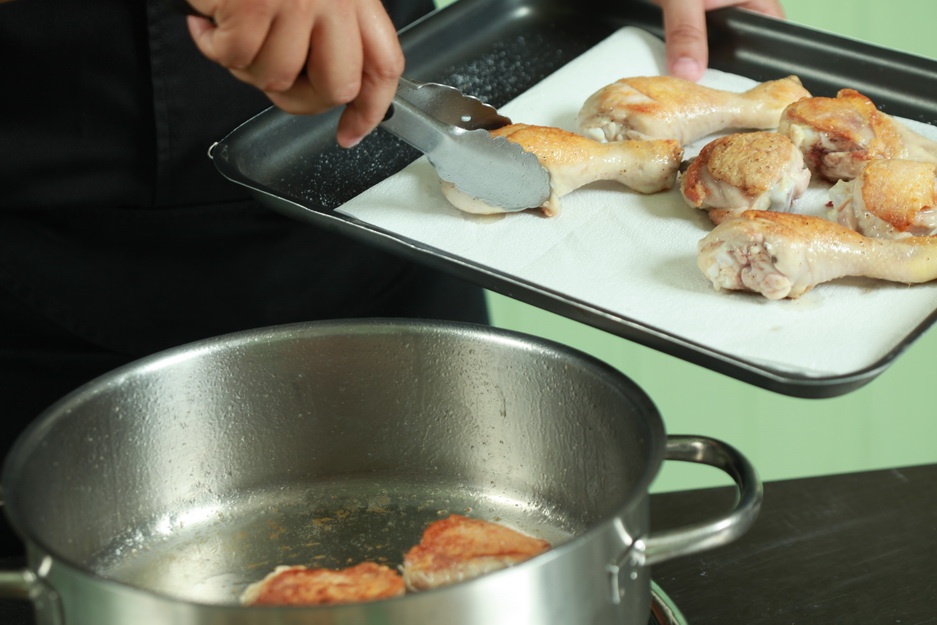
Remove the meat onto absorbent paper.
-
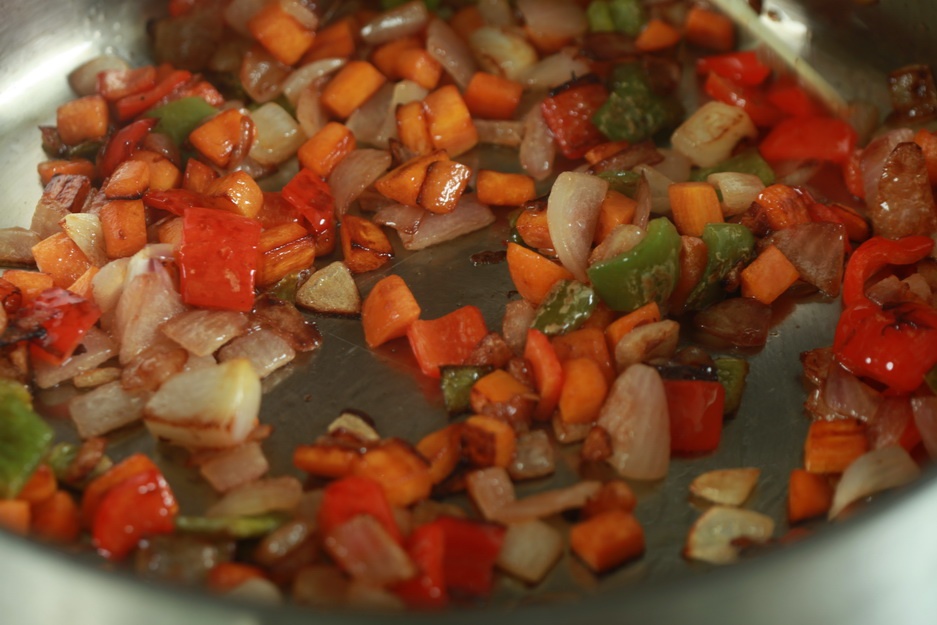
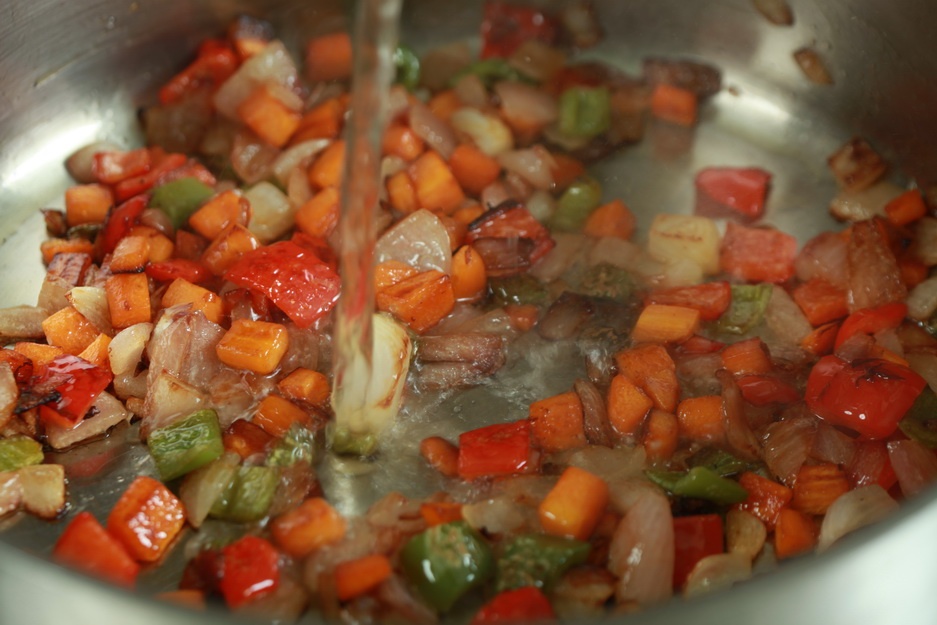
Sauté or ‘sweat’ the aromatic vegetables (for dark and light braises respectively).
It should be noted at this point that in good restaurants these vegetables are often removed at the end of cooking because they have imparted all their flavors into the stock and have entirely lost their texture. The chef can choose to enrich the final product with fresh vegetables cooked using a method of choice.
At home however, you can add vegetables to your braised dish some time before the end of the cooking time (30-45 minutes) so that they can impart their flavor into the stock but their texture will not be lost.
-
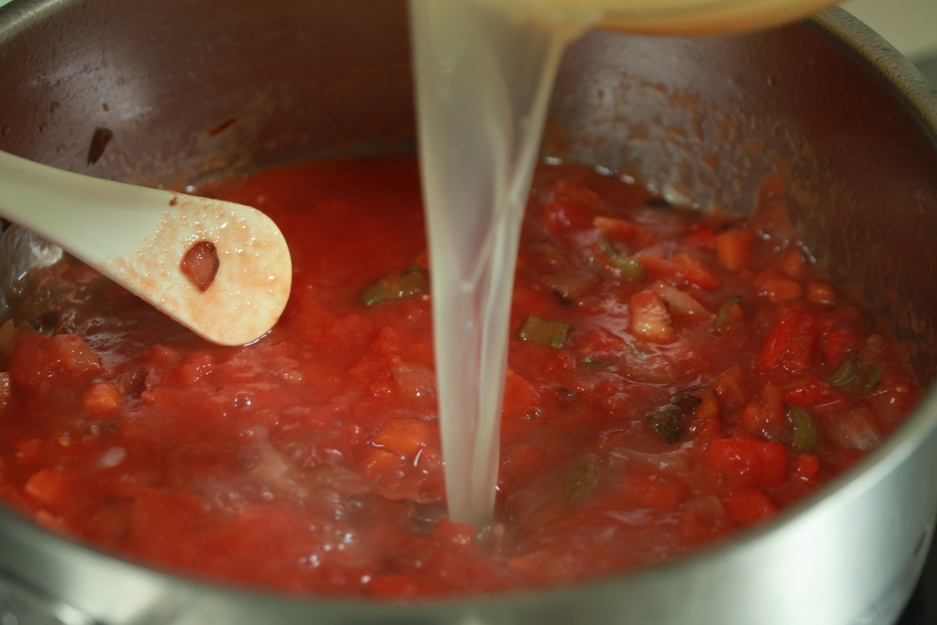
Add wine, if using.
If your recipe includes wine, add it at this stage, allow it to reduce by half and continue with the rest of the liquids.
-
Add the stock and remaining aromatic ingredients.
-
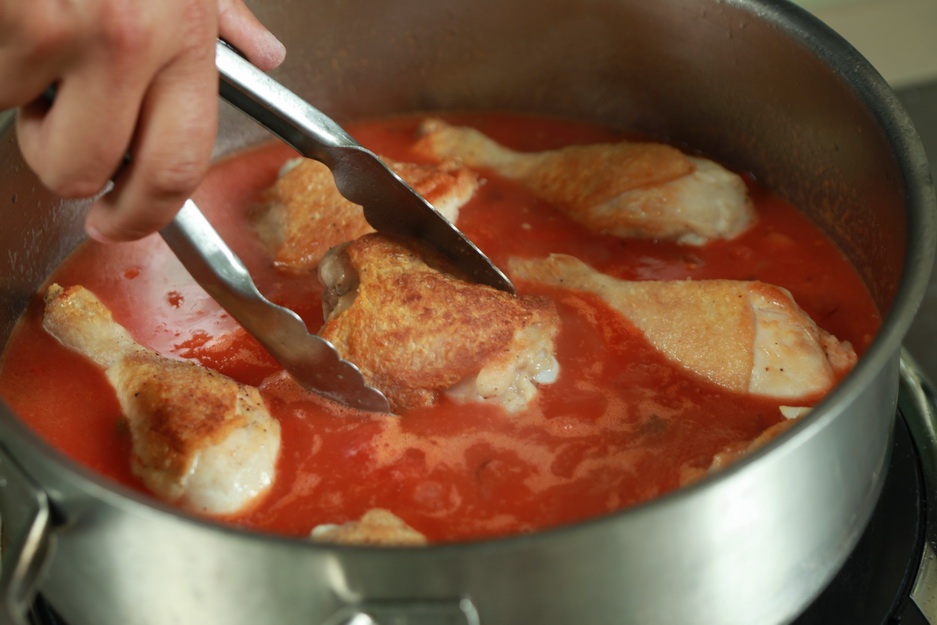
Return the meat to the pan with the stock.
-
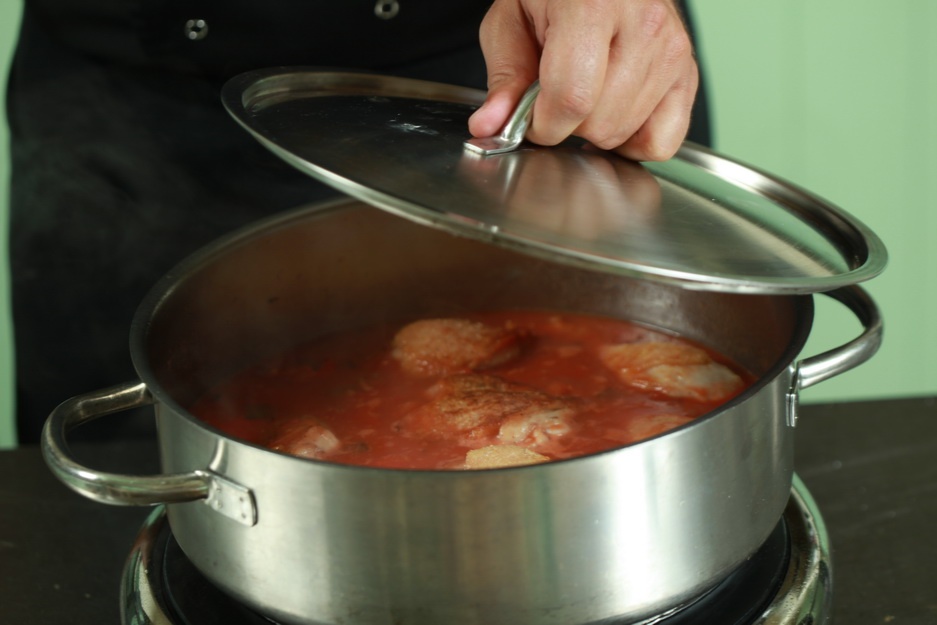
Cover and place in the oven at 120°C to 140°C.
Cooking in the oven offers steady and controllable temperature which is a basic precondition for the end result and helps avoid any careless accidents.
If you don’t have a pan which can be placed in the oven you can use a baking tin.
Cooking on the hob can be used if there is no other choice, by regulating the temperature to the lowest possible point.
-
Cook for as long as necessary for the meat to soften to the desired degree. The time depends on the type of meat.
Check seasoning and add salt, pepper and spices if necessary.
Enhance with fresh vegetables that have, usually, been cooked separately, if desired.
If you wish to cool the food to be consumed at a later stage, cool it in its stock.